💡 Note: This guide is part of our digital growth education series. We update it periodically as new insights and tools emerge.
Introduction
Starting or growing a business online for free often feels impossible and overwhelming. Everywhere you look, people insist you must buy expensive software, hire designers, pay freelancers, subscribe to multiple tools, or run ads before you can even begin.
But the truth is far simpler:
You can build a clean, functional, professional online presence — and start attracting real customers — with $0.
Every foundational technology required to build a real digital asset — your website, analytics, and lead capture system — can be set up today at absolutely no cost.
- Not $5.
- Not $10.
- Zero.
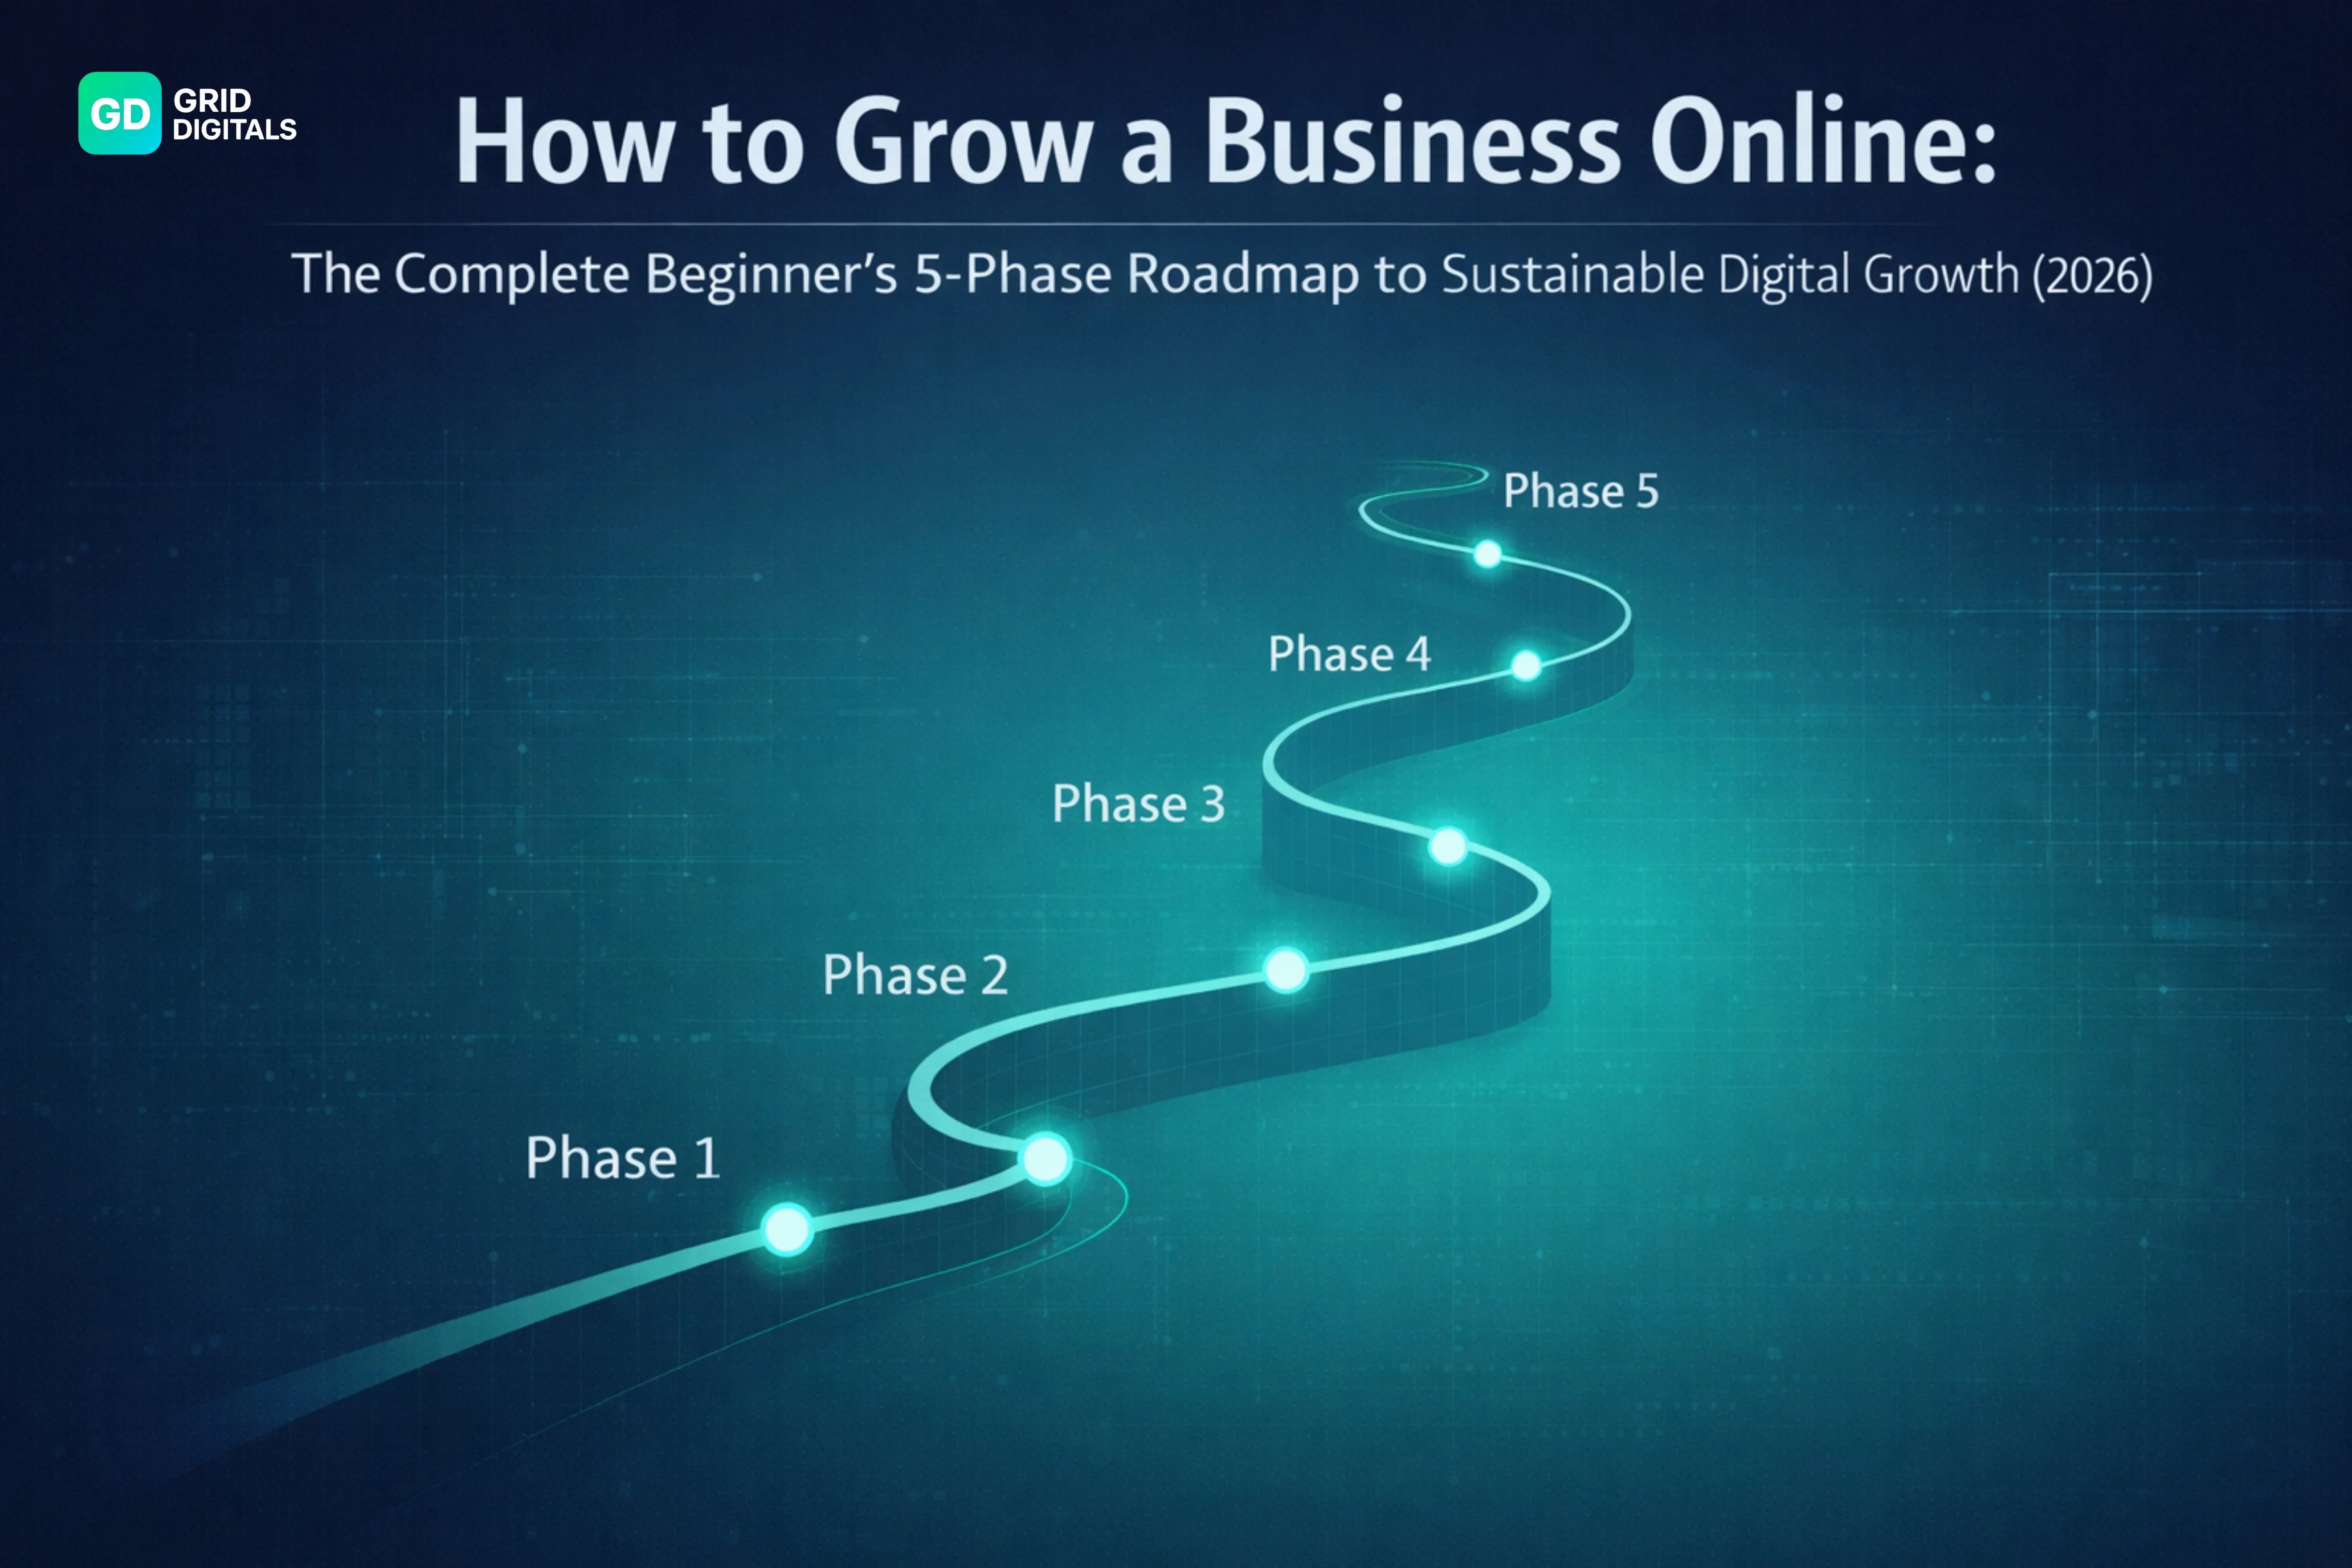
This article is your Total $0 Technical Checklist. It is a practical, step-by-step implementation guide for Phase 1: Building Your Digital Foundation, as outlined in our main strategic guide: The Complete 5-Phase Roadmap to Sustainable Digital Growth .
That roadmap breaks business growth into five practical phases, specifically designed for complete beginners. This guide does not just teach ideas — it helps you implement real systems.
- A $0 website
- A $0 analytics setup
- A $0 professional email system
- A $0 lead capture workflow
- A connected ecosystem where everything works together
In this guide, we will show you exactly how to build the core free assets required to move confidently into Phase 2: Traffic:
- A functional, owned free website
- Essential analytics and tracking (GA4 & Google Search Console)
- A high-value free Lead Capture Machine (your highest ROI asset)
- A fully connected digital ecosystem
This is a real implementation tutorial. A beginner who follows these steps will walk away with a live, functional, connected, and trackable digital foundation.
And if at any point you want to go deeper — full click-by-click setups, screenshots, or advanced configurations — each section includes an optional deep-dive link you can follow.
This keeps the main guide clean, practical, and beginner-friendly, while still giving you access to every technical detail when you need it.
Let’s begin.
Phase 1 — Build Your $0 Website (Your Digital Headquarters)
Your website is your business home online. Every other digital asset you create — Google Business Profile, social media, email, and ads — will eventually point back to it.
This is non-negotiable if you want to grow a business online for free. Without a website you own, you are building on rented land.
Website setup can be implemented in two ways:
- Coding (HTML, CSS, JavaScript)
- Using a CMS (Content Management System)
For complete beginners focused on a true $0 setup, a CMS is the most practical option.
Technical Detail: Choosing the Right $0 CMS
The best CMS choice balances ease of use with long-term flexibility.
| CMS Option | Target Audience | Key Advantage (Free Tier) | $0 Limitation |
|---|---|---|---|
| WordPress.com | Beginners who want to scale later | Best flexibility, large free theme library (e.g., Astra) | Uses a subdomain (yoursite.wordpress.com) |
| Wix | Beginners who want drag-and-drop simplicity | Very easy visual editor, hosting included | Wix branding + subdomain (yoursite.wixsite.com) |
For a true $0 setup with maximum control, the best option is:
WordPress.com Free Plan
(Yes — the free plan is enough to build a clean, professional website.)
Step-by-Step: Create a Professional Website
Step 1: Create Your Website
- Go to wordpress.com- Wordpress Site
- Click Start Your Website
- Select Start with a free site
- Choose the Free plan
- Select a simple template (you can customize later)
- Enter your site name
WordPress will assign you a free subdomain, for example: yourbrand.wordpress.com. You now have a live, functioning website.
Step 2: Structure the Website Properly
Use this simple three-page structure. It is more than enough to start.
- Homepage — Introduces your brand and what you do
- About Page — Your story, purpose, and credibility
- Contact Page — How people reach you
Step 3: Edit Your Pages (Beginner-Friendly Walkthrough)
Go to Dashboard → Pages and click Edit.
Homepage essentials:
- Clear headline: “I help [audience] achieve [result]”
- Short introductory paragraph
- One clear CTA button (e.g. Contact Me)
- Relevant brand images
- A short section explaining what you offer
About Page essentials:
- Who you are
- Why you started
- The problem you solve
- Your mission and values
Contact Page essentials:
- Phone number
- Email address
- WhatsApp link
- Simple contact form (optional)
Step 4: Set Your Homepage Correctly
Go to Dashboard → Settings → Reading and set:
- Homepage: A static page
- Select: Your Homepage
- Posts page: Leave empty (add blog later)
Step 5: Basic Branding Starter Kit
- Choose 2 colors (primary + secondary)
- Choose 1 font for headings and body
- Add a logo (Canva Free works perfectly)
Step 6: Add Your NAP (Critical for SEO)
NAP stands for Name, Address, Phone Number. It must be identical everywhere online.
Add it via: Dashboard → Appearance → Editor → Footer
Business Name
12 Example Street, Ikeja, Lagos, NG
+234 000 000 0000
Step 7: Publish Your Site
Preview → Check mobile view → Click Publish.
🎉 Congratulations — you now have a clean, $0 business website.
Want to go deeper? Read the Full WordPress Beginner Setup Guide (Coming Soon).
Phase 2 — Set Up Your Google Business Profile (Your Local Visibility Engine)
Google Business Profile (GBP) is one of the fastest ways to be discovered by real customers — especially in Nigeria or anywhere people search for services “near me.”
This phase is short, but it is one of the highest-impact visibility systems you can set up for free.
Step-by-Step: Create and Optimize Your GBP
Step 1: Create Your Profile
- Go to google.com/business
- Log in with your Google account
- Click Add Business
- Enter your Business Name EXACTLY as it appears on your website
- Select your primary business category
- Add your business address or select “I deliver services” if applicable
- Add your phone number
- Add your website URL (the one you created in Phase 1)
Step 2: Complete Every Section
To rank faster, your profile must be fully completed. Partial profiles almost never perform well.
- Business Description — Clearly explain:
- What you do
- Who you help
- The specific outcome you provide
- Business Hours — Even if you are online-only, set working hours
- Services — Add at least 3 core services
- Photos — Add:
- Logo
- Cover / banner image
- 2–5 on-brand images
- Opening Date — Optional, but helpful for trust
Step 3: Connect GBP to Your Website (Critical)
Google rewards consistency. Your website and your Google Business Profile must match perfectly.
Ensure your NAP on your website footer matches your GBP NAP exactly. Even small differences like “St.” vs “Street” can hurt rankings.
Critical System Check:
- NAP inconsistency is the first step toward digital chaos. We require perfect alignment across all assets for system integrity, E-E-A-T, and ranking success.
Step 4: Start Posting Weekly
GBP posts function like mini social updates. They signal activity and relevance to Google.
- Announcements
- Tips or educational posts
- Photos and updates
- Promotions or offers
- Quick business updates
Consistent posting helps you rank for more keywords and improves local visibility.
Want to go deeper into “Google Business Profile Full Optimization Guide (Ranking, NAP, Photos, Keyword Strategy)”? Read the Complete GBP Optimization Guide for Ranking -(Coming Soon)
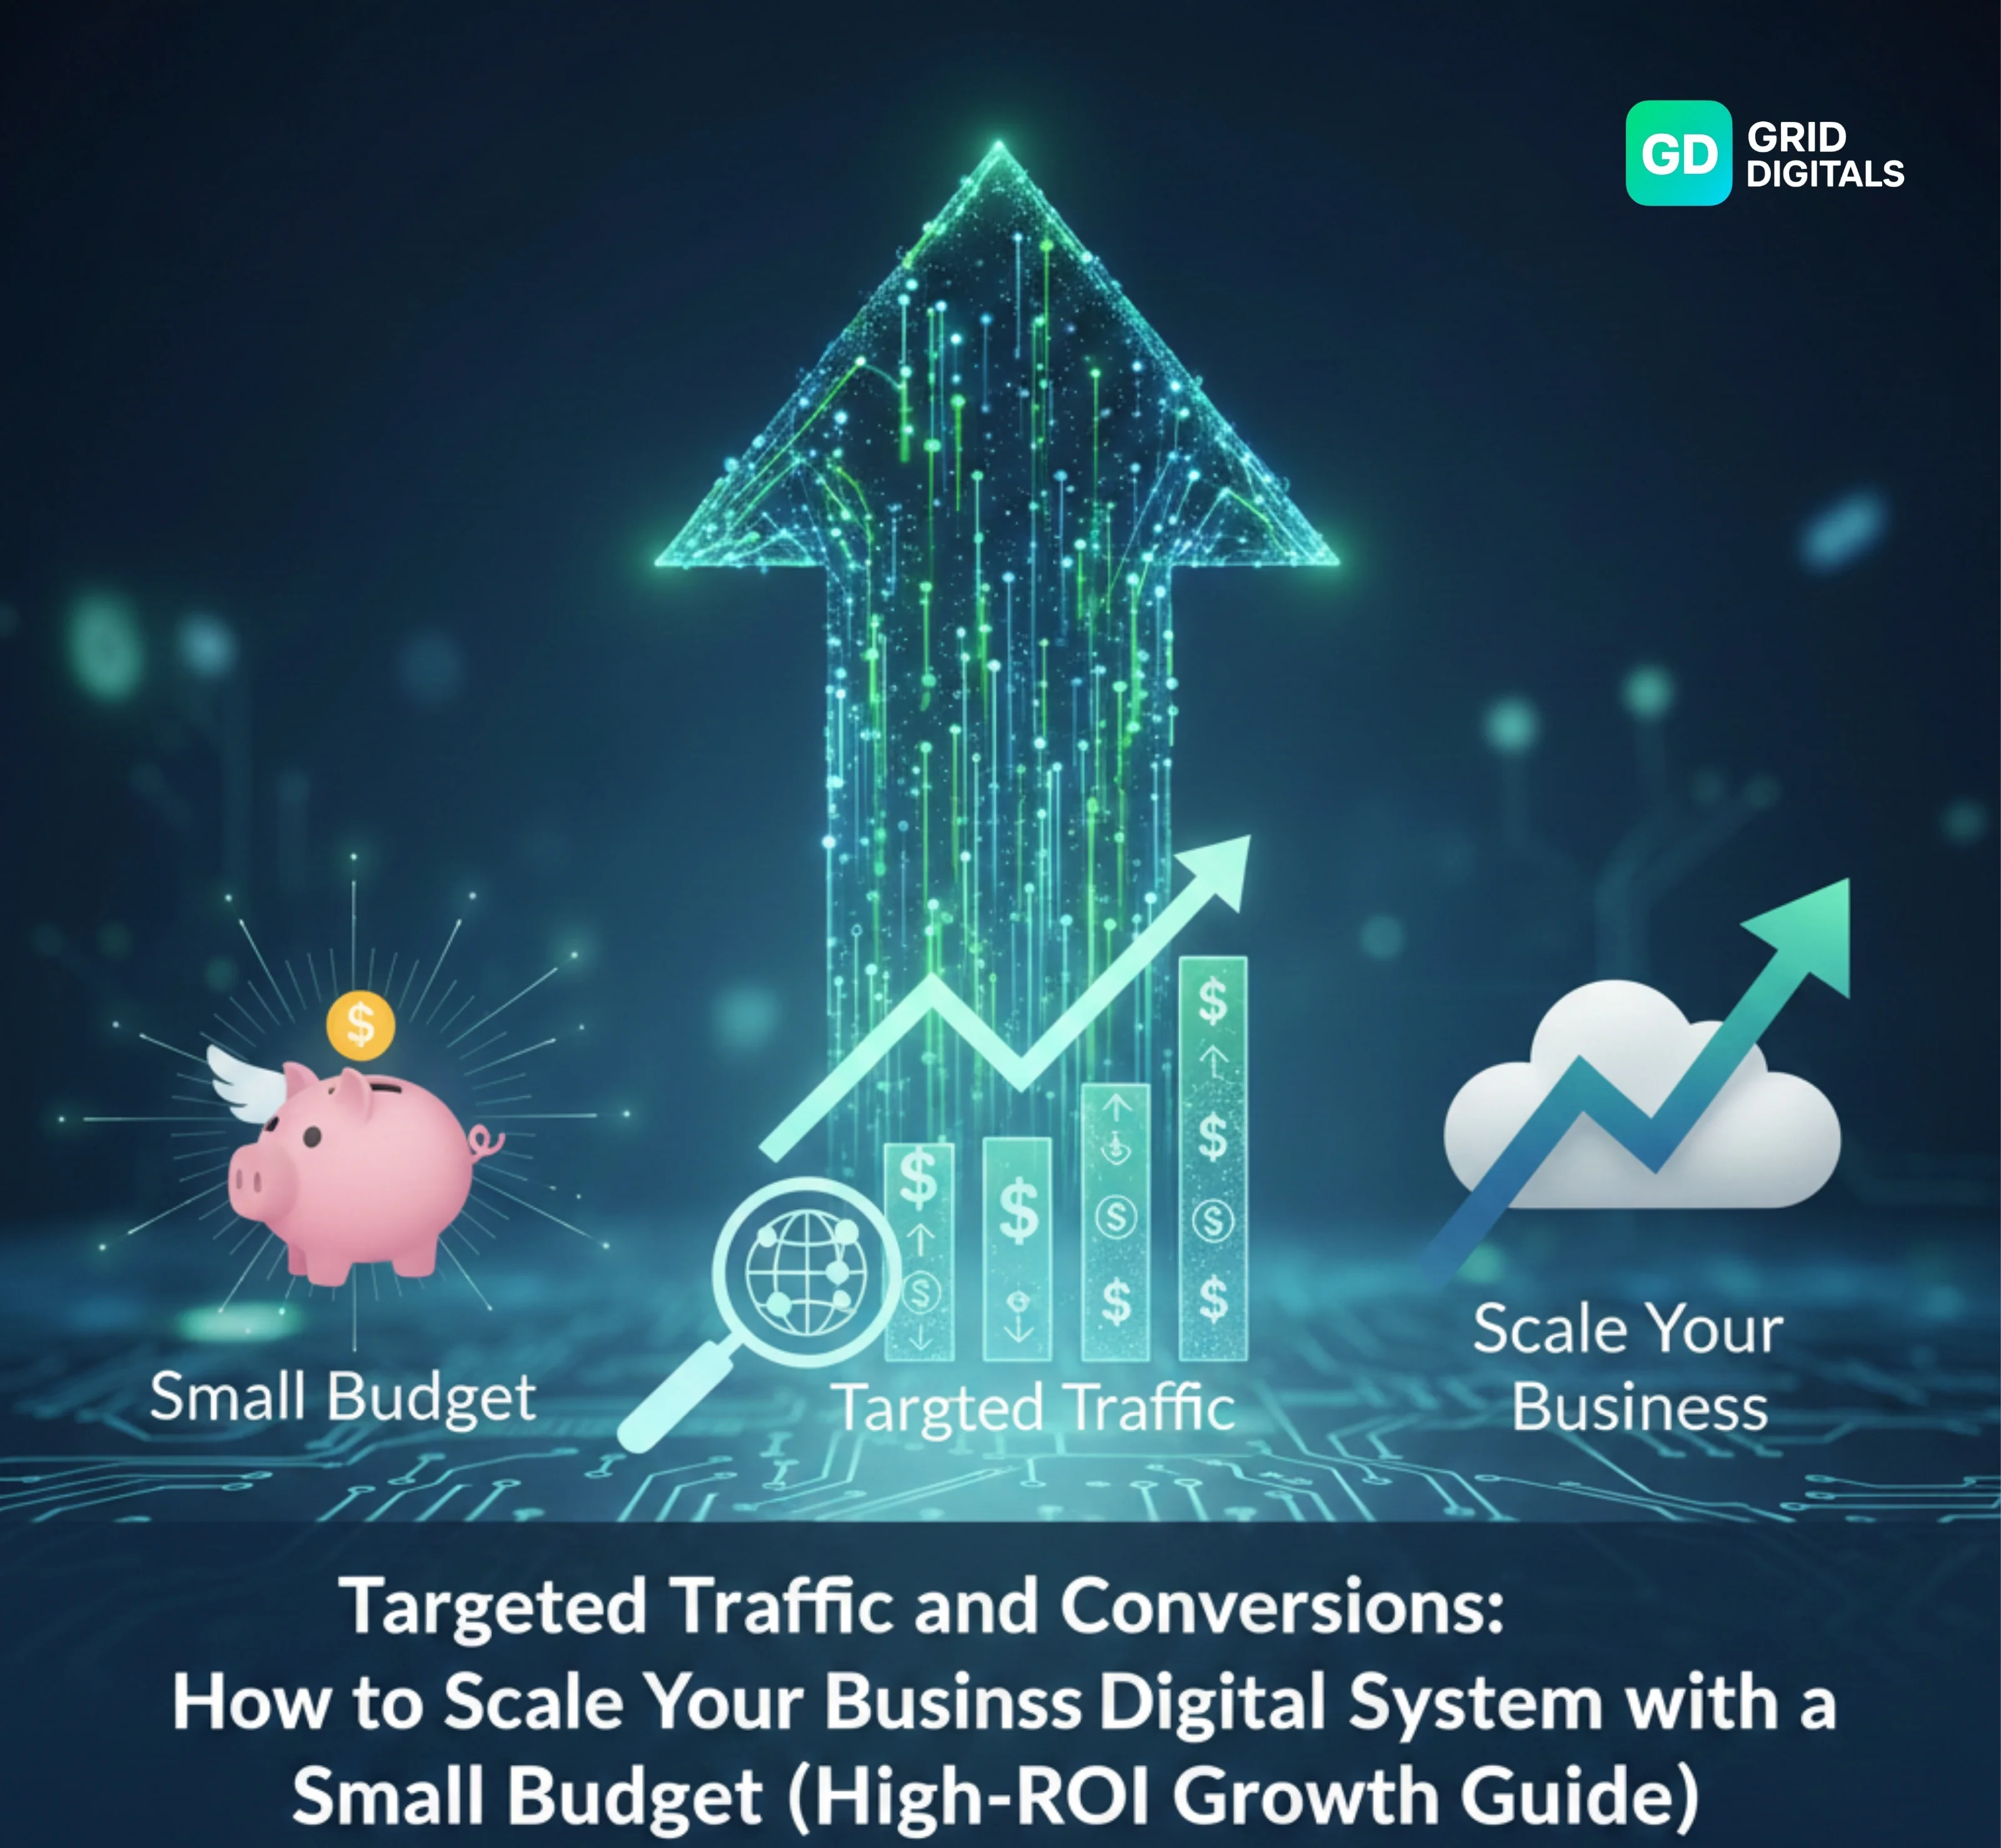
Phase 3 — Set Up Your Analytics (GA4 + Google Search Console)
Track your traffic. Understand your audience. Measure your growth.
Most beginners skip analytics because it feels technical — but this is one of the most important systems in your entire online setup.
Without analytics:
- You don’t know who is visiting your website
- You don’t know what they’re clicking
- You don’t know what’s working
- You can’t measure growth or make smart decisions
And the worst part?
You’re basically running your digital business blind.
The good news: this entire setup is 100% free. Once configured, it runs automatically in the background.
Part A — Google Analytics 4 (GA4)
Step 1: Create Your GA4 Account
- Go to analytics.google.com
- Click Start Measuring
- Enter your Account Name (Business Name)
- Property Name → Your Website Name
- Time Zone → Select your country
- Currency → Your preference
- Click Next and finish setup
Step 2: Add Your Website Stream
You will see “Choose your platform”. Select:
- Web
- Enter your website URL (e.g. yourbrand.wordpress.com)
- Name the stream: Main Website Stream
- Click Create Stream
Step 3: Get Your Measurement ID
GA4 will generate a Measurement ID that looks like: G-XXXXXXX
Copy this ID — you will need it to connect GA4 to your website.
Step 4: Connect GA4 to Your WordPress Website
On the WordPress.com Free Plan, you don’t need plugins.
- Go to Dashboard → Tools → Marketing
- Click Traffic
- Scroll to Google Analytics
- Paste your Measurement ID
- Click Save Settings
Tracking starts immediately, but data may take up to 24 hours to appear.
Step 5: Confirm Tracking Works
- Open your GA4 Dashboard
- Go to Real-Time Report
- Visit your website in another tab
- You should see 1 active user (you)
If you see yourself active — GA4 is live.
GA4 automatically tracks:
- Website visitors
- Traffic sources (Google, Instagram, WhatsApp, Direct)
- Devices used
- Pages viewed
- Time on page
- Basic conversions
This alone puts you ahead of 80% of beginners.
Part B — Google Search Console (GSC)
If GA4 tracks users, Google Search Console tracks Google itself.
GSC tells Google your site exists — and shows how you appear in search.
GSC shows:
- Search keywords people use to find you
- Impressions and clicks
- Indexing status
- Top-performing pages
- Errors blocking rankings
Step 1: Go to Search Console
- Visit search.google.com/search-console
- Click Start Now
Step 2: Add Your Website
- Select property type: URL Prefix
- Enter your full site URL
- Click Continue
Step 3: Verify Your Site
Choose the HTML Tag verification method.
Google will provide a tag like:
<meta name="google-site-verification" content="xxxxxx" />Copy the tag.
Step 4: Add the Verification Tag to WordPress
- Go to Dashboard → Tools → Marketing
- Open Traffic
- Scroll to Site Verification Services
- Paste the tag into the Google field
- Click Save Settings
- Return to GSC and click Verify
Step 5: Submit Your Sitemap
WordPress.com generates a sitemap automatically.
- In GSC, go to Sitemaps
- Enter sitemap.xml
- Click Submit
Google will now begin indexing your site and tracking keyword performance.
GSC tracks:
- Search keywords
- Ranking positions
- Impressions growth
- Click-through rate
- Coverage and indexing issues
- Page experience signals
This is essential for long-term organic growth.
For advanced tracking, custom events, and keyword insights, check out the GA4 + GSC Masterclass Guide -(Coming Soon).
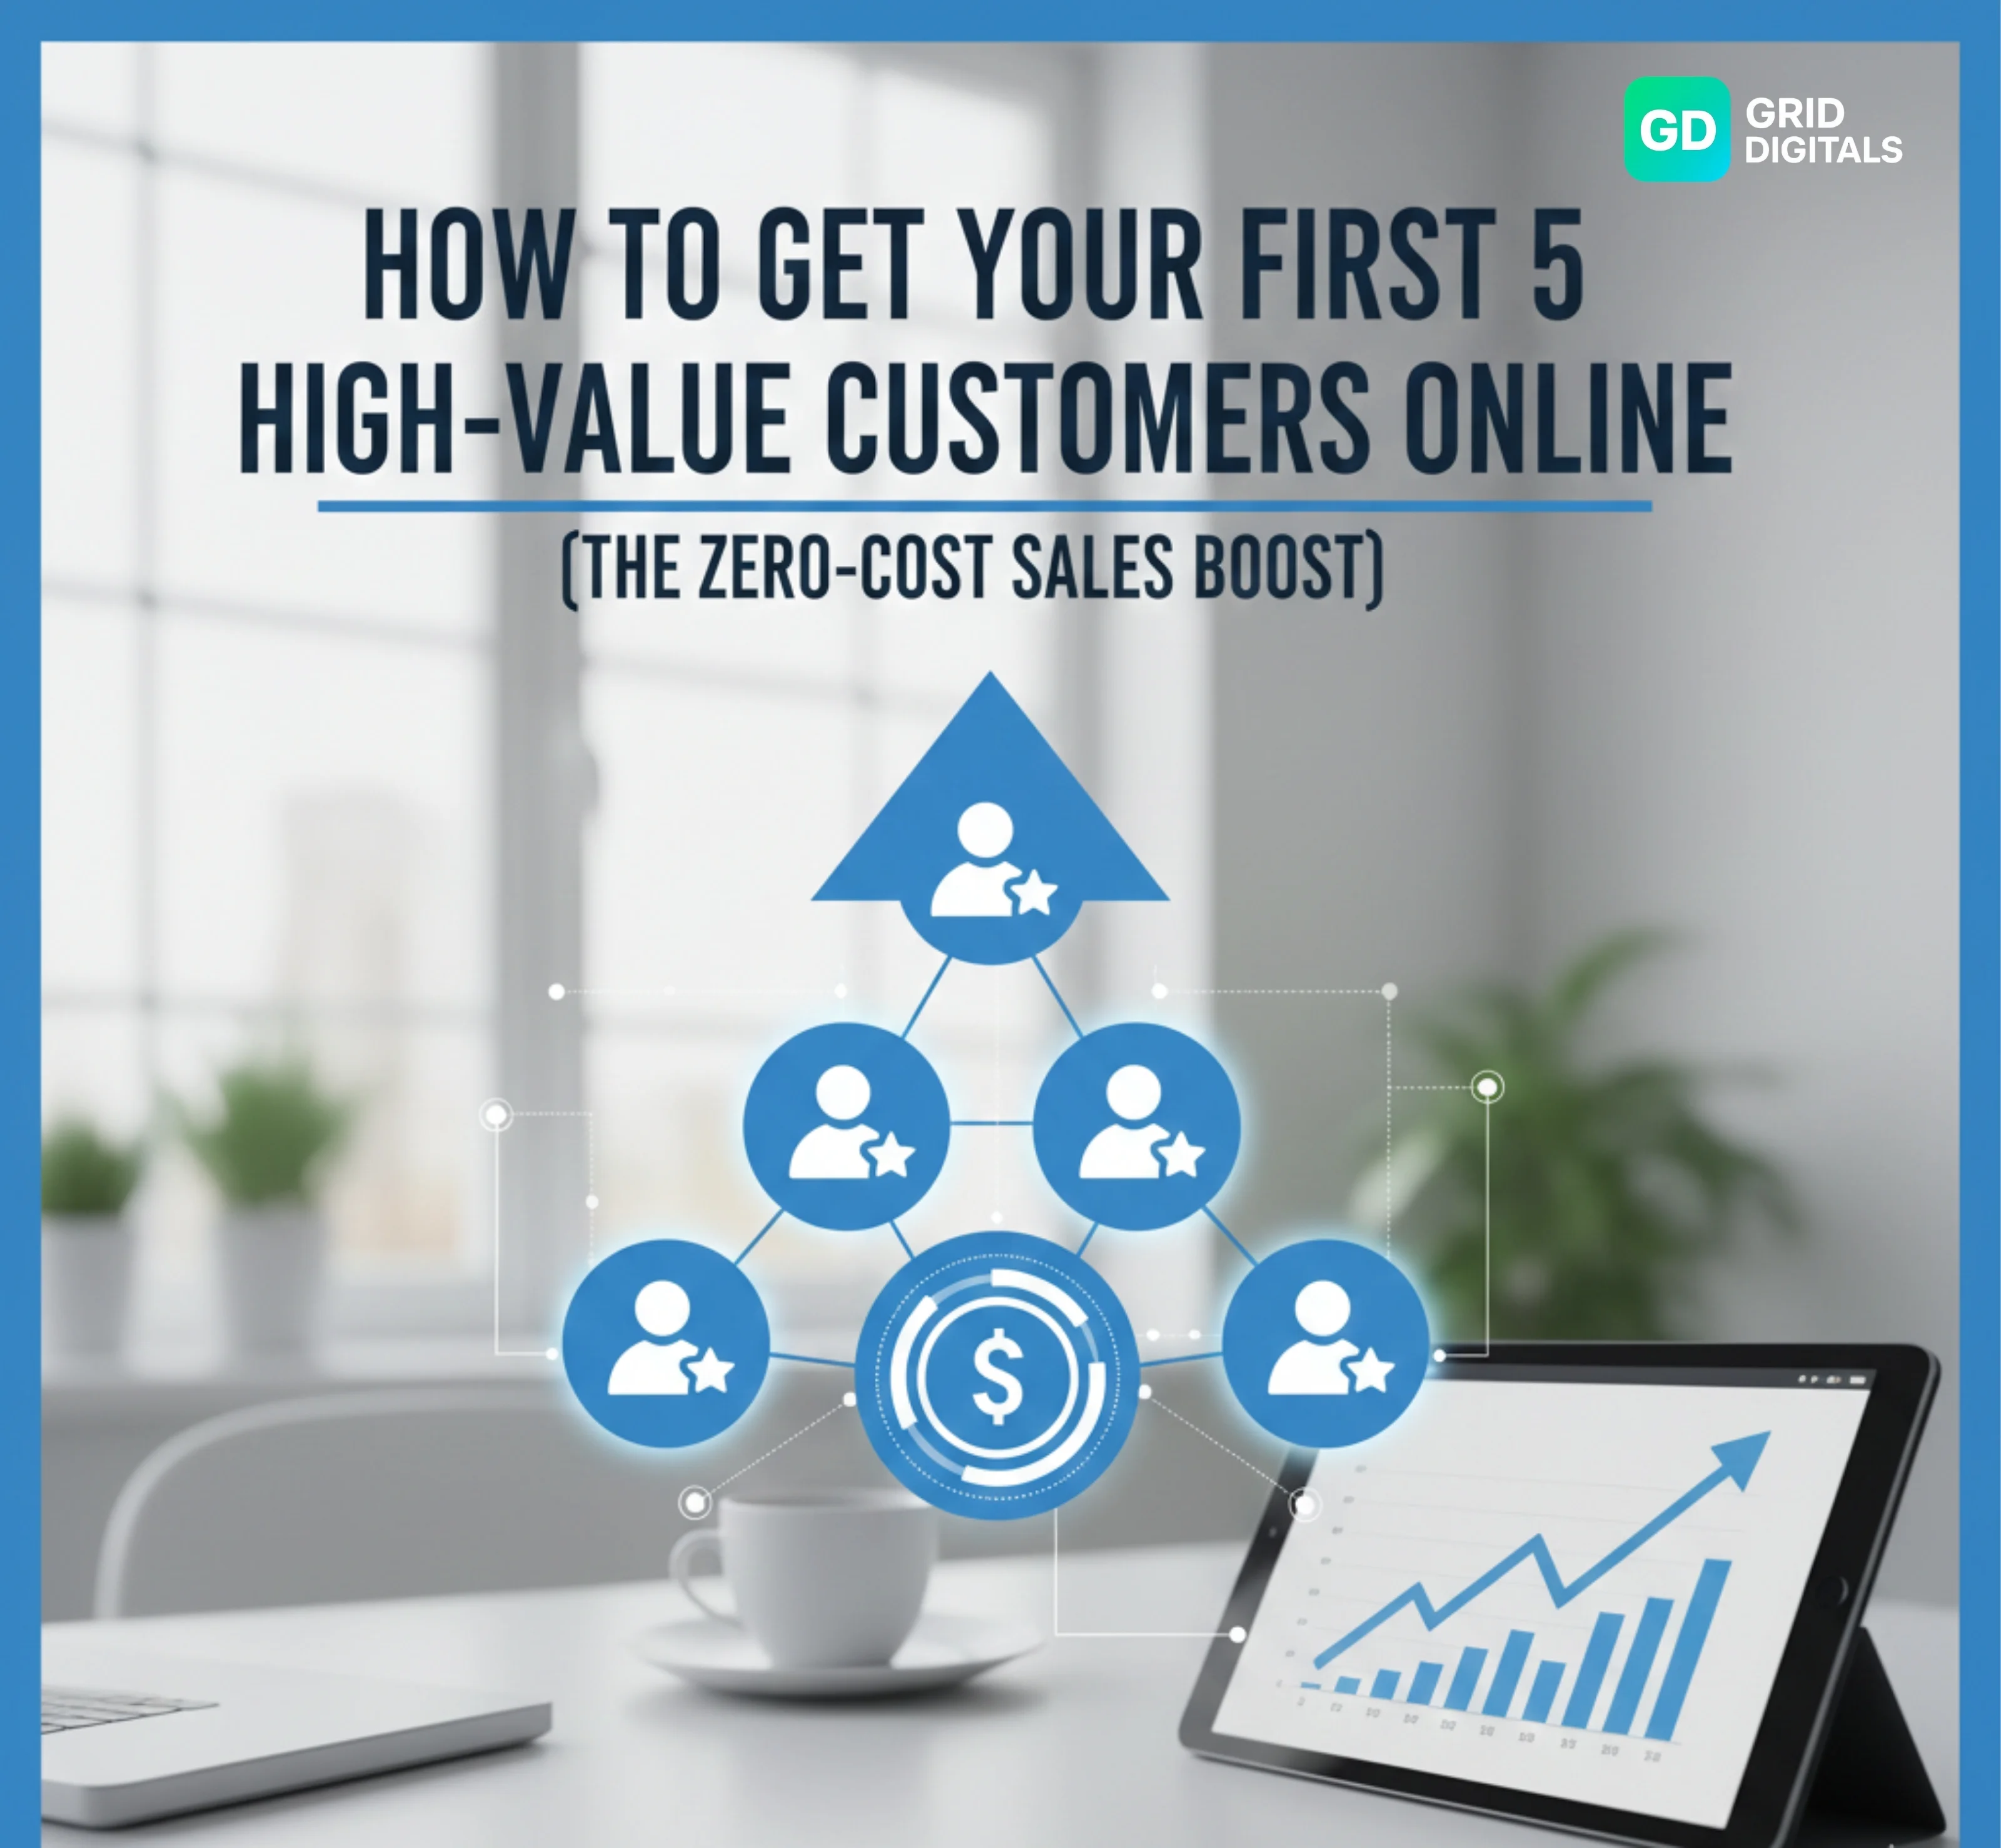
Phase 4 — Build Your $0 Lead Capture + Email System
Your website is live.
Your analytics are working.
Google knows your business exists.
Now you need the system that turns visitors into leads — automatically.
This phase is what transforms:
➜ Website traffic
➜ Email subscribers or WhatsApp leads
➜ Potential customers
Most beginners have no lead system at all. They depend on DMs, replies, and luck.
This step removes that uncertainty and gives you a predictable growth engine.
Part A — Choose Your Lead Capture Method
Since we’re staying 100% $0, you have two solid options. Choose based on how advanced you want to be.
Option 1: Google Forms + Email Notifications (Simple & Free)
Best for beginners who just want a clean way to collect:
- Name
- Phone number
- Message or booking request
Option 2: MailerLite Free Plan (Recommended)
Best if you want a real email system with automation.
MailerLite allows you to:
- Build an email list
- Send automated welcome emails
- Deliver lead magnets
- Send newsletters
- Segment subscribers
MailerLite Free Plan includes:
- Up to 1,000 subscribers
- Unlimited emails
- Automation workflows
- Forms and landing pages
This is the best $0 email system available right now.
Part B — Set Up Google Forms (Beginner Option)
Step 1: Create a Lead Form
- Go to forms.google.com
- Click Blank Form
- Title: “Work With Us / Contact Form”
Add these fields:
- Full Name
- Phone
- Message / What do you need?
Step 2: Customize the Form
- Add your brand colors
- Add your logo
- Write a short intro message
Step 3: Embed the Form on Your Website
- Click Send → Embed
- Copy the embed code
- Go to Dashboard → Pages → Contact
- Add a Custom HTML block
- Paste the code and Update
Visitors can now submit leads directly from your website.
Step 4: Enable Email Notifications
- In Google Forms, click the three dots
- Select Get email notifications
You’ll now receive an alert every time someone submits a form.
Part C — Build a Professional Email System (MailerLite)
Step 1: Create Your Account
- Visit mailerlite.com
- Click Sign Up Free
Step 2: Create a Signup Form
- Go to Dashboard → Forms
- Select Embedded Form
- Create a simple form
- Fields: Name and Email
Step 3: Embed the Form on Your Homepage
- Copy the embed code
- Add a Custom HTML block
- Paste and Save
Step 4: Create a Welcome Email Automation
- Go to Automation
- Create New Workflow
- Trigger: When someone joins Form X
- Add an email
Email title example: “Welcome to [Your Brand] — Here’s What Happens Next”
Include inside the email:
- Your introduction
- The value you provide
- How they can contact you
- Your most important links
Want advanced automations and lead magnets? Explore the Email Marketing + Lead Capture Full Setup -(Coming Soon)
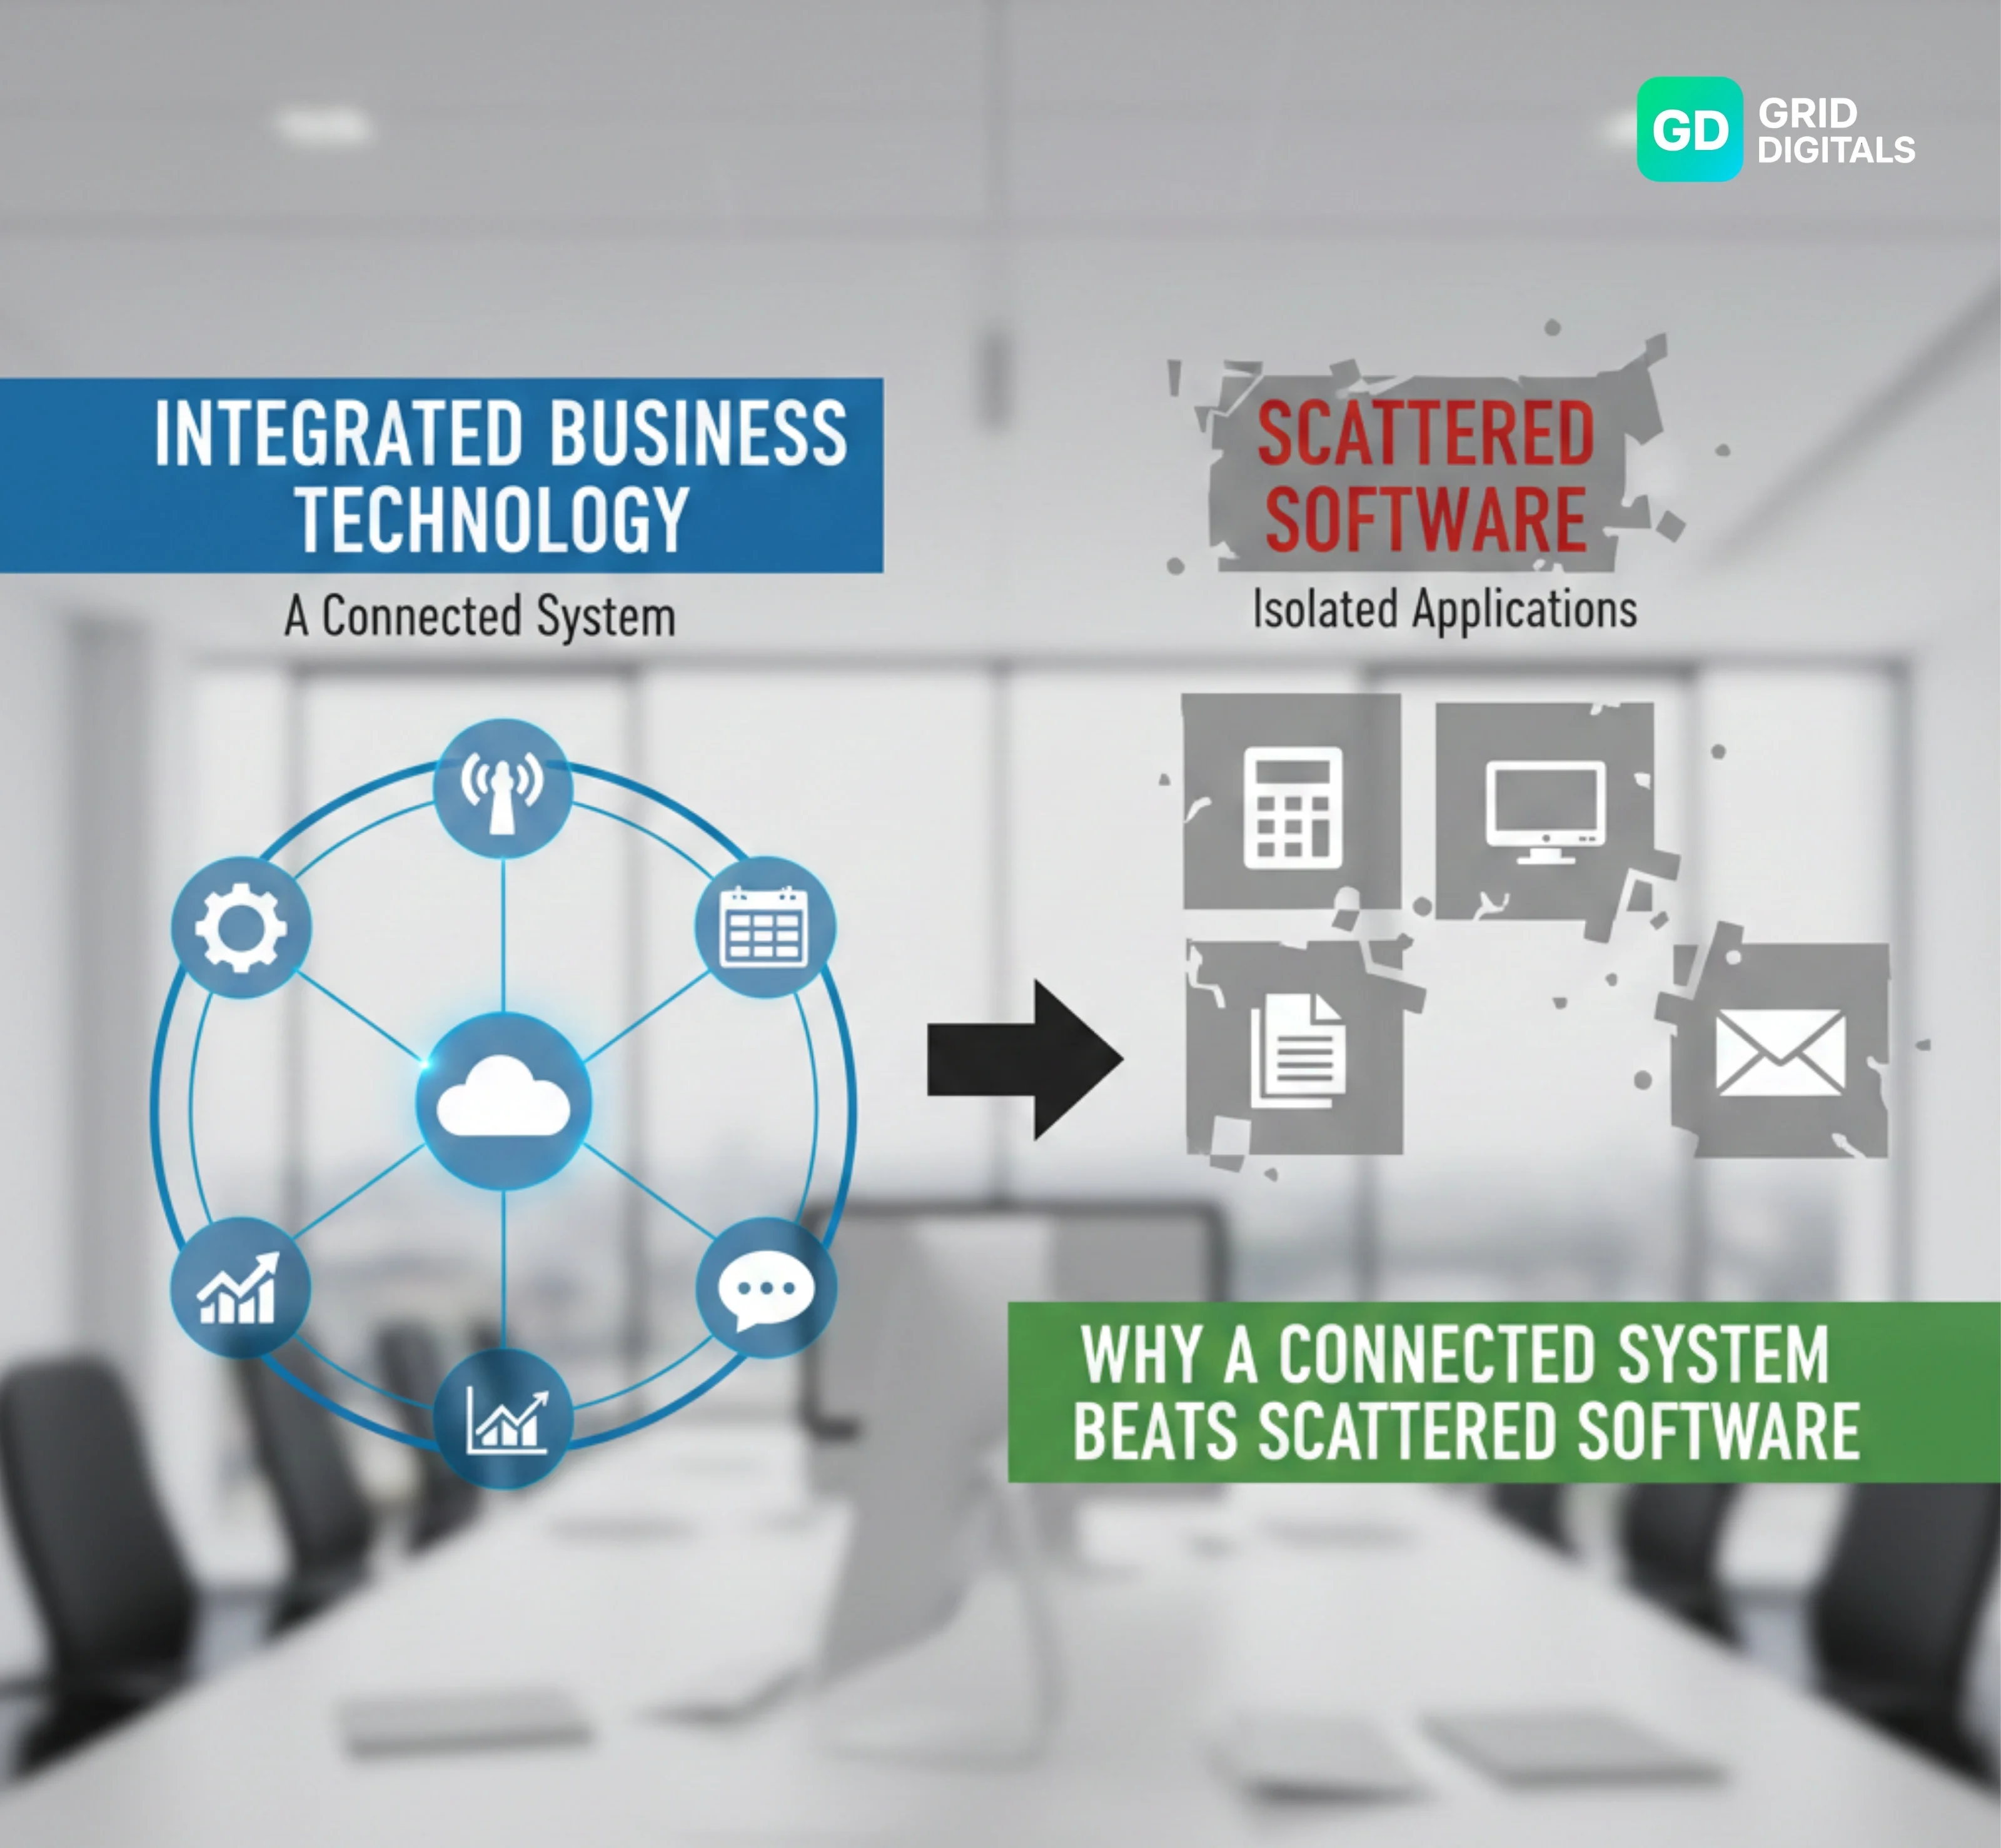
PHASE 5 — Connect Your Digital Asset Ecosystem
This is where everything you’ve built becomes one smooth, coordinated machine.
A business with disconnected assets creates confusion.
A business with a connected ecosystem creates growth.
Below is how your digital assets should connect — intentionally and systematically.
1. Website ↔ Google Business Profile
- Add your website link to your Google Business Profile
- Add your GBP link to your website footer
This creates a two-way trust signal for Google and users.
2. Website → Email & Lead System
Your website must act as your lead capture hub.
Your homepage should include:
- Contact form
- Email signup form
- WhatsApp contact button
Every visitor should have a clear way to contact you or join your ecosystem.
3. Website → Analytics
Your website is already connected to:
- Google Analytics 4 (GA4)
- Google Search Console (GSC)
This ensures every action is measurable.
4. Google Business Profile → Website
Every Google Business Profile post should drive traffic back to your site.
“Learn more → yourbrand.wordpress.com”
This reinforces your website as your central asset.
5. Social Media → Website
Social media is a traffic source, not a destination.
- Instagram bio → Website link
- Facebook page → Website link
- WhatsApp channel → Website link
Every platform should point back to what you own.
6. Email → Website
Your email footer should always include:
- Website link
- Contact details
Email keeps users cycling back into your ecosystem.
7. NAP Consistency Everywhere (Critical)
NAP must be identical across all platforms:
- Business Name
- Exact Address
- Exact Phone Number
One mismatch breaks trust, ranking, and system integrity.
Conclusion
You have successfully completed the $0 Beginner’s Technical Setup Checklist and built a complete digital foundation.
You now have:
- A $0 professional website
- A fully optimized Google Business Profile
- Complete analytics systems (GA4 + GSC)
- A working lead capture engine
- A connected digital ecosystem
This is the exact blueprint a beginner can follow to start attracting customers online without spending a single naira or dollar.
This system is designed for free, sustainable business growth.
And when you’re ready to level up, each deep-dive guide will help you evolve every part — without breaking the system you’ve already built.
You are no longer guessing.
You are building with structure.
FAQs — Free Business Growth Roadmap
Clear answers to common questions about building and scaling with $0 tools.
Can I really make sales using a free WordPress.com subdomain?
Yes. A free subdomain is enough to build your technical foundation (Phase 1) and your lead capture system (Phase 4). Sales come from systems and trust, not the domain name. You should upgrade only after your offer is proven.
Why is Google Business Profile important if my business is fully online?
Google Business Profile builds trust and authority through NAP verification and captures high-intent local searches like “digital marketer Nigeria.” This delivers free, high-converting traffic even for online-only businesses.
Can I install plugins on a free WordPress.com site?
No. The free tier does not allow third-party plugins. That’s why this roadmap uses built-in WordPress features and external free tools like MailerLite and Google Forms via simple embed codes. This keeps everything secure and truly $0.
How fast can I see results from the $0 roadmap?
Phase 1 can be completed in 1–3 days. Traffic and leads (Phase 2) typically appear within 30–90 days as Google indexes your site and your content begins to rank. Consistency accelerates results.
Why do you recommend MailerLite over other free email tools?
MailerLite’s free plan includes automations, landing pages, and forms for up to 1,000 subscribers. Many alternatives restrict these features to paid plans, making MailerLite the most complete $0 email system for beginners.
Do I need a complicated funnel to convert leads?
No. A simple form or Google Form works perfectly at the beginner stage. Conversion depends more on your offer quality and your automated welcome email than on funnel complexity.